Real materials. Real installation details. Explore what goes into a roof before the finished shingles cover it up.
INSTALLATION DETAILSArchitectural shingles
01 / THE COMPLETE ROOF
The finish you see. The precision underneath.
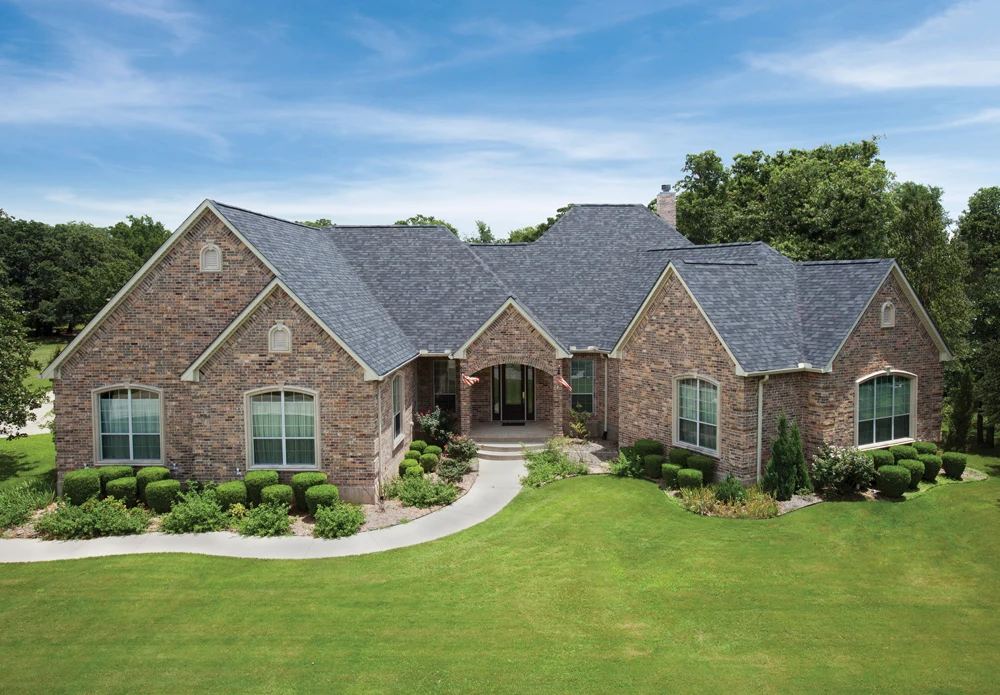
See architectural shingles laid in overlapping courses, with attachment and details matched to the selected roof system. Class 3 and Class 4 products may look similar; the impact rating belongs to the specific shingle, not its color.
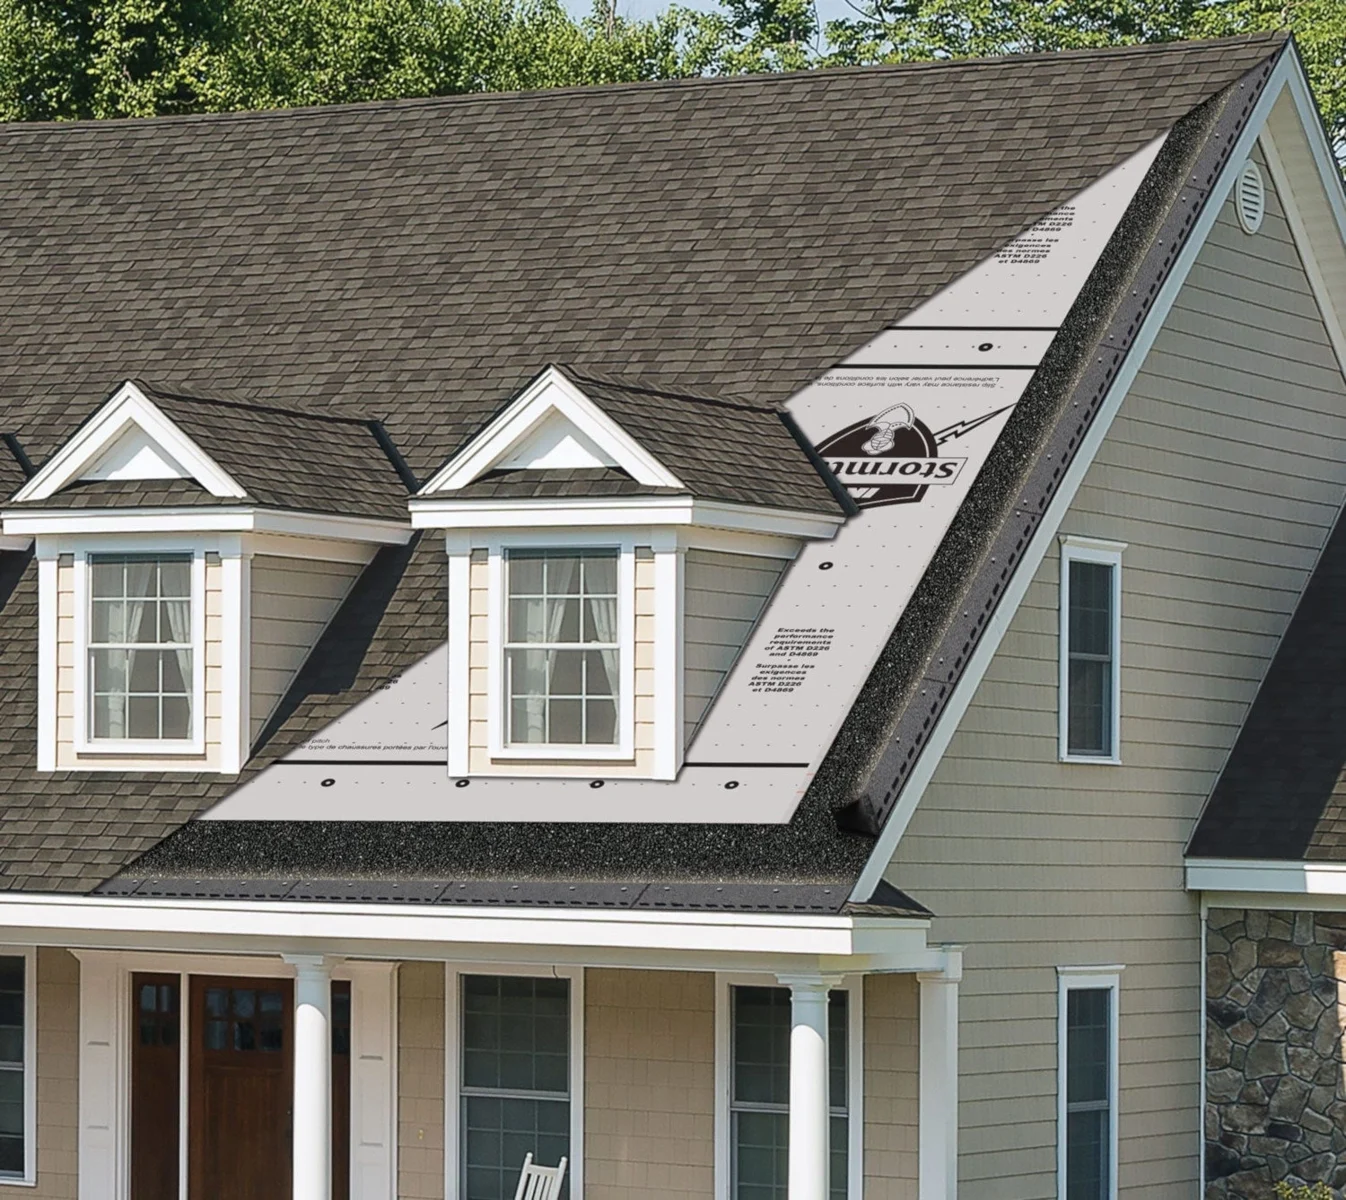
Self-adhered membranes protect specified vulnerable locations such as valleys and roof transitions. We identify the required coverage and compatible products in your roof scope.
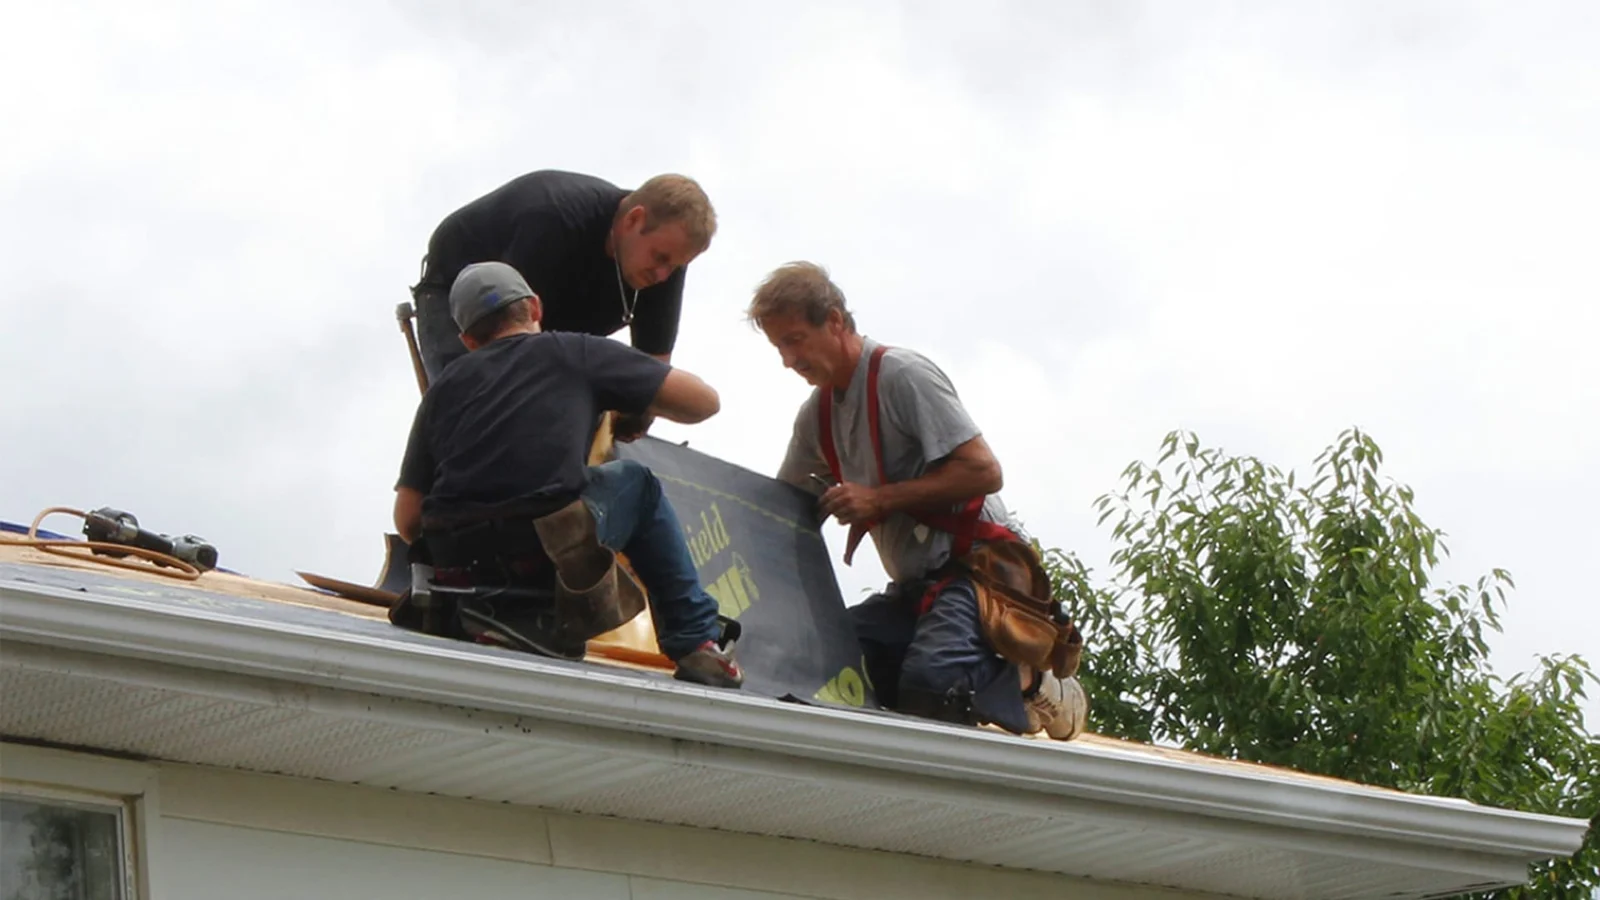
Synthetic underlayment covers the prepared deck. Laps, fasteners, and integration with the other layers follow the chosen product’s installation requirements.
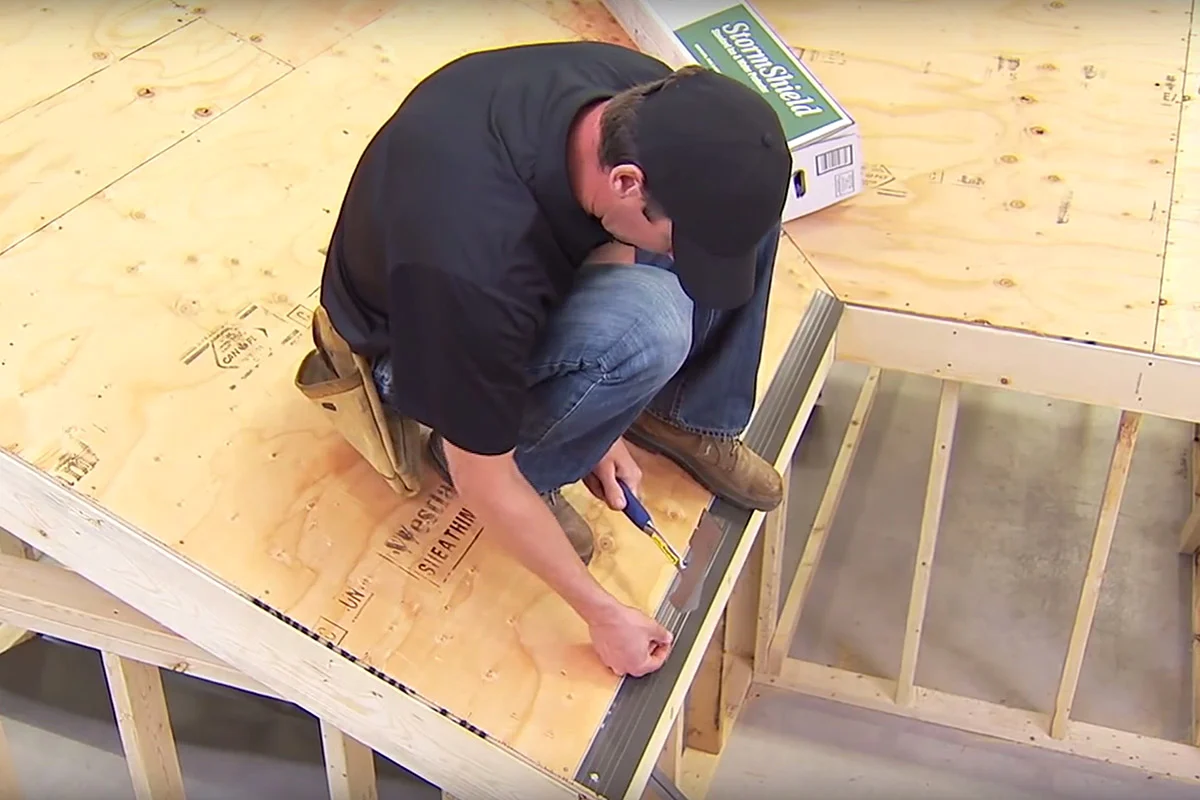
Drip edge provides a defined roof edge and helps direct water toward the gutter. Wall and valley flashing must be integrated with the underlayment and roof covering.
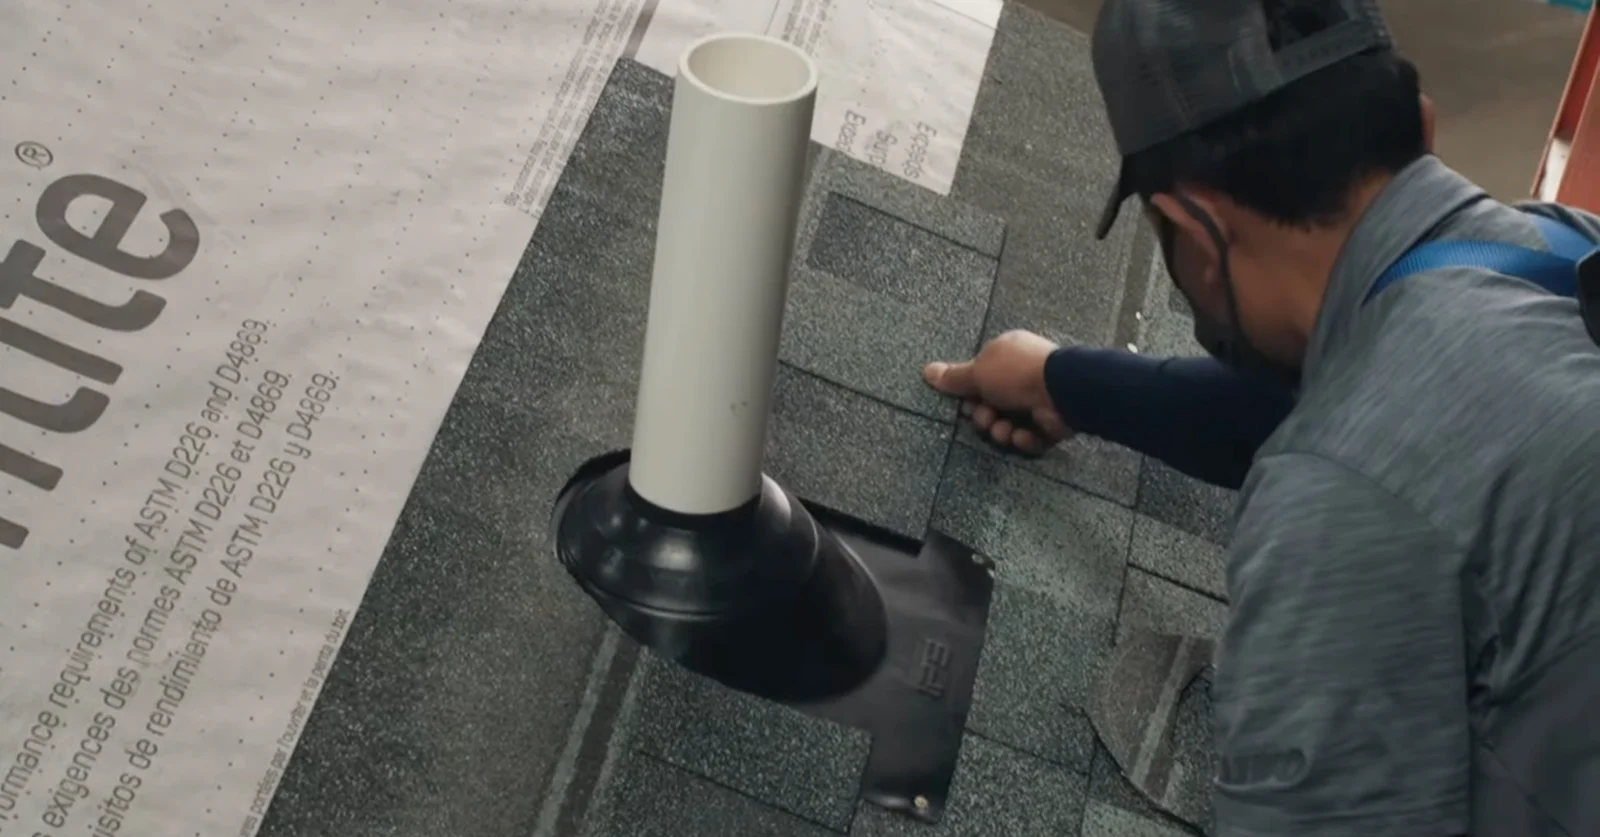
A pipe jack or boot seals around a roof penetration and integrates with the surrounding shingles. We review existing penetrations, select compatible flashing, and include agreed replacement details in the scope.
IKO BLUEPRINT / FIELD DEMONSTRATIONAir in. Air out. Details matter.Watch the actual roof vent installation
INSTALLATION DETAILSRidge & ventilation
06 / THE COMPLETE ROOF
Finish with a roof that can breathe.
Intake and exhaust ventilation need to work together. We review the attic and roof configuration before selecting ridge vents, other exhaust options, and the matching cap details.
EXPLORE THE CONSTRUCTIONOpen the 3D layer diagram+
THE RYSE INSTALLATION STUDIO
Explore your home. Every detail.
Choose a system, play the installation, or move through the steps at your own pace. Switch camera views to see the roof and exterior details.
VIEW
ROOF SYSTEM01 / 08
Interactive 3D installation diagram
STEP BY STEP / RYSE
Protect the property
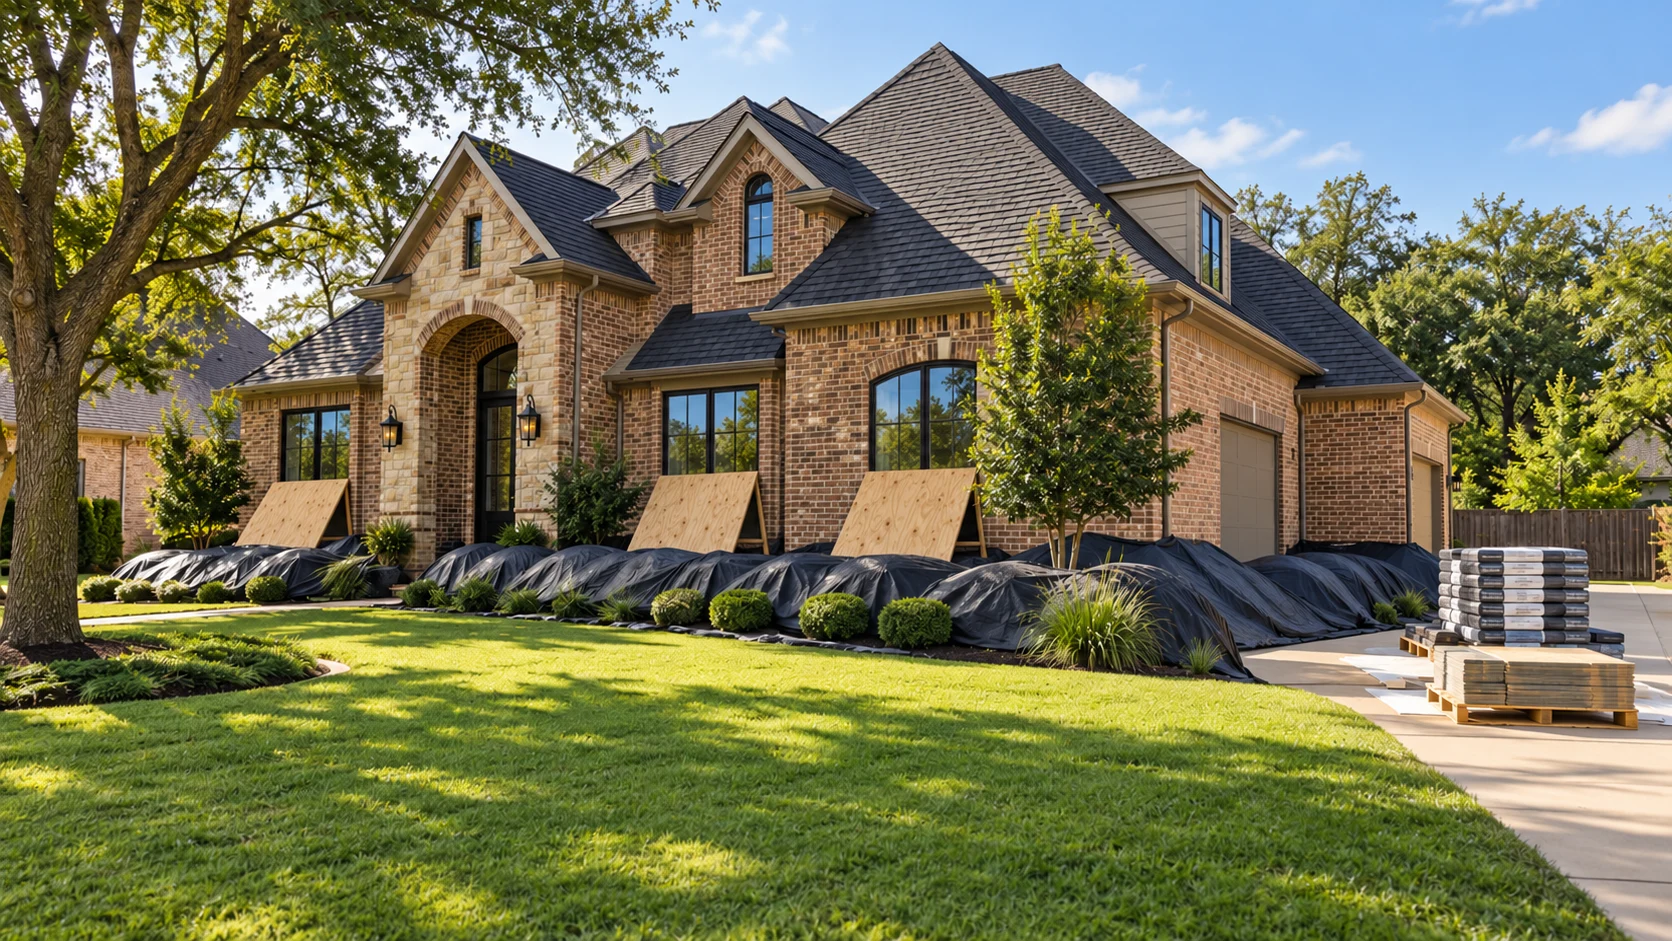
We protect landscaping and place temporary plywood shields in front of vulnerable windows before tear-off.
IN THIS STEP
Landscaping protection · temporary window shields
Illustrative homeowner walkthrough, not an installation manual. Roof layers, pipe flashing, ventilation, drainage, and exterior components are simplified. Actual assemblies and installation follow the selected manufacturer, site conditions, and applicable requirements. Concealed mechanisms and underground details are not fully modeled.
01 / RESIDENTIAL ROOFING
A roof is a system. Treat it like one.
Shingles are only the visible layer. Decking, underlayment, flashing, ventilation, and drainage all contribute to a roof that works together. We discuss your existing roof and the replacement scope before recommending a path forward.
02 / RESIDENTIAL ROOFING
Replacement, with the details defined.
Review material choices, colors, roof accessories, and ventilation needs. The written scope should identify the work included and how unexpected conditions, such as damaged decking, will be handled.
03 / RESIDENTIAL ROOFING
A plan for your property.
Before construction, discuss vehicle access, outdoor belongings, landscaping, pets, and cleanup. At completion, review the finished work and the warranty documents that apply to the products and installation.
PROPERTY PREPARATION
BEFORE WE TEAR OFF
Protect what stays in place.
Your windows stay. Your landscaping stays. The old roof is what comes off.
Temporary plywood shieldsPlaced in front of vulnerable windows during tear-off, with the original windows intact behind them.
Black tarps over landscapingDraped over the beds and shrubs near the work area to help contain falling debris.
A plan for the entire propertyVehicle access, outdoor belongings, debris collection, and final cleanup discussed before construction.
THE ROOFING FILMS
See what goes into your roof.
Explore products and installation techniques, straight from the manufacturers. These educational films show their systems in action.
Product options depend on availability and your selected scope. Logos identify manufacturers and do not imply contractor certification or endorsement.
A SMARTER ROOFING CONVERSATION
Class 3 or Class 4? Know what you’re choosing.
Two strong options for an impact-resistant roof. Compare tested performance, architectural style, and the complete roof system to choose what fits your home.
CLASS3IMPACT RESISTANCE
A PRACTICAL UPGRADE
Strong performance. Distinctive style.
Class 3 is a strong choice for homeowners who want tested impact resistance and architectural curb appeal. It brings proven laboratory-tested performance to a thoughtfully installed roofing system.
Choose a shingle tested to UL 2218 Class 3 impact criteria.
Compare the complete roof system, appearance, and warranty terms.
Ask your insurer whether the exact product qualifies for a discount.
A steel-ball test is not a promise that a roof will withstand real hail of the same size. Neither class eliminates storm damage. Appearance alone does not identify the impact rating, and installation still matters.