Inspect the whole exterior.
We check the roof, gutters, fencing, windows, garage doors, and other storm-affected areas, then build a photo damage report.
Whole-property inspection · photo damage report
 Complimentary Inspection
A whole-exterior inspection. A photo damage report. Clear next steps with your carrier and our restoration team. Start with a complimentary inspection.
Schedule Your Complimentary Roof & Property InspectionMissing shingles, an exposed roof, or an active leak? Call RYSE about temporary roof tarping while we plan the permanent repairs.
Call to confirm availability. Tarping is temporary protection; scheduling depends on weather, access, and safe working conditions.
Here’s what we do—and what happens next.
We check the roof, gutters, fencing, windows, garage doors, and other storm-affected areas, then build a photo damage report.
Whole-property inspection · photo damage report
With your permission, we meet your carrier’s adjuster on site to point out documented damage and explain the proposed repairs.
On-site meeting · damage documentation
Your carrier prepares its estimate. We review the construction items and communicate with the carrier about the work your property needs.
Carrier estimate · construction scope review
If repair items need to be added or clarified, our supplement department supplies photos, measurements, and an itemized estimate for carrier review.
In-house supplements · supporting repair details
We plan the work around the carrier-approved scope and your signed agreement, explain your costs, and coordinate the roof and exterior restoration.
Agreed scope · coordinated restoration
Missing repair items? Our supplement department prepares the evidence and construction estimate for your carrier to review.
Photos and measurements show the affected areas.
An itemized estimate explains additional or revised repairs.
We answer construction questions and keep you updated.
RYSE provides construction services and supporting documentation. Your insurer determines coverage and payment. We do not act as your public adjuster, interpret coverage, or negotiate your claim settlement. Approval and additional payment are not guaranteed; your deductible remains your responsibility.
Texas roofing & insurance guidance ↗Real materials. Real installation details. Explore what goes into a roof before the finished shingles cover it up.

See architectural shingles laid in overlapping courses, with attachment and details matched to the selected roof system. Class 3 and Class 4 products may look similar; the impact rating belongs to the specific shingle, not its color.
Shingle layout · fastening · starter & ridge
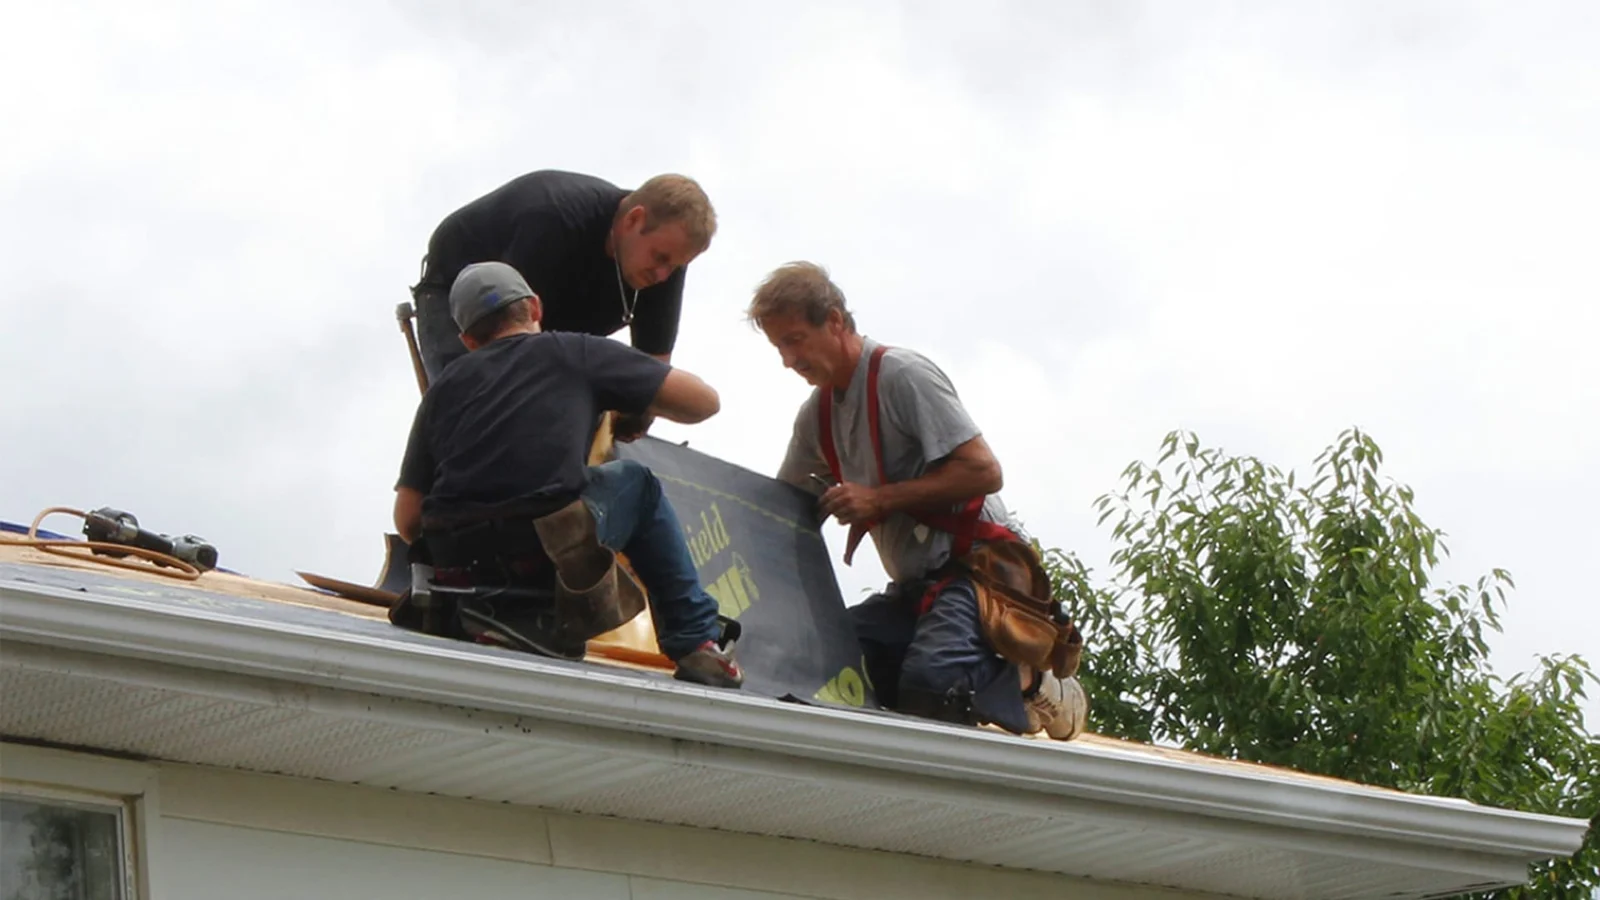
Self-adhered membranes protect specified vulnerable locations such as valleys and roof transitions. We identify the required coverage and compatible products in your roof scope.
Self-adhered membrane · valleys · transitions
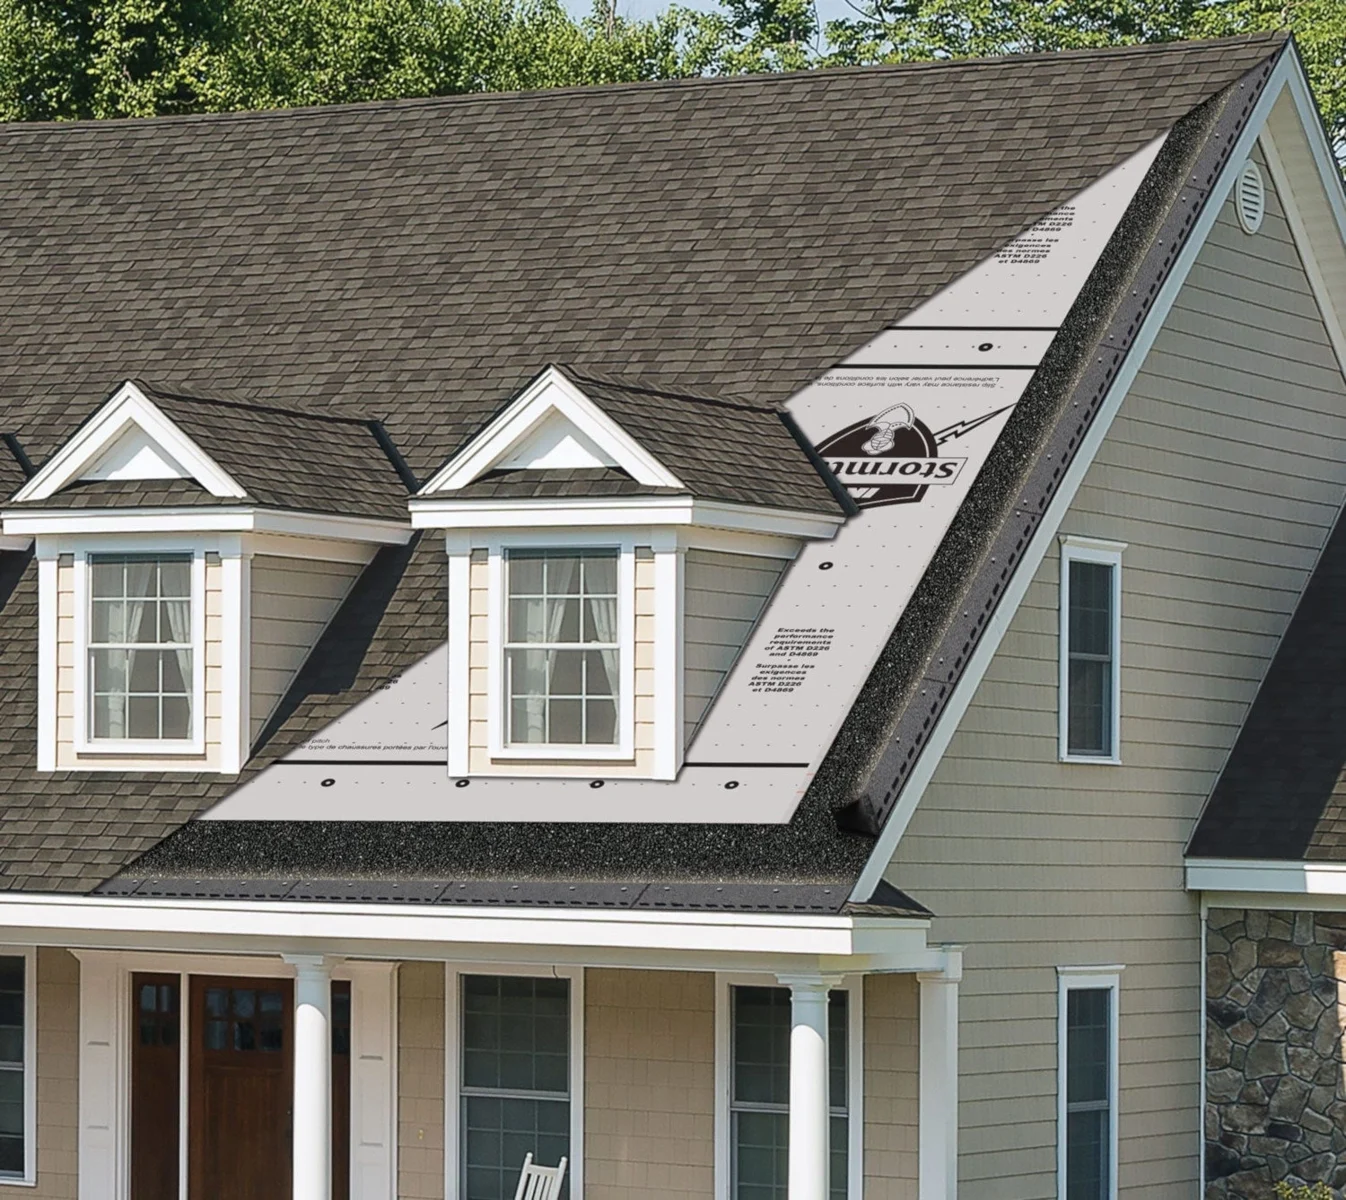
Synthetic underlayment covers the prepared deck. Laps, fasteners, and integration with the other layers follow the chosen product’s installation requirements.
Prepared decking · underlayment · overlaps
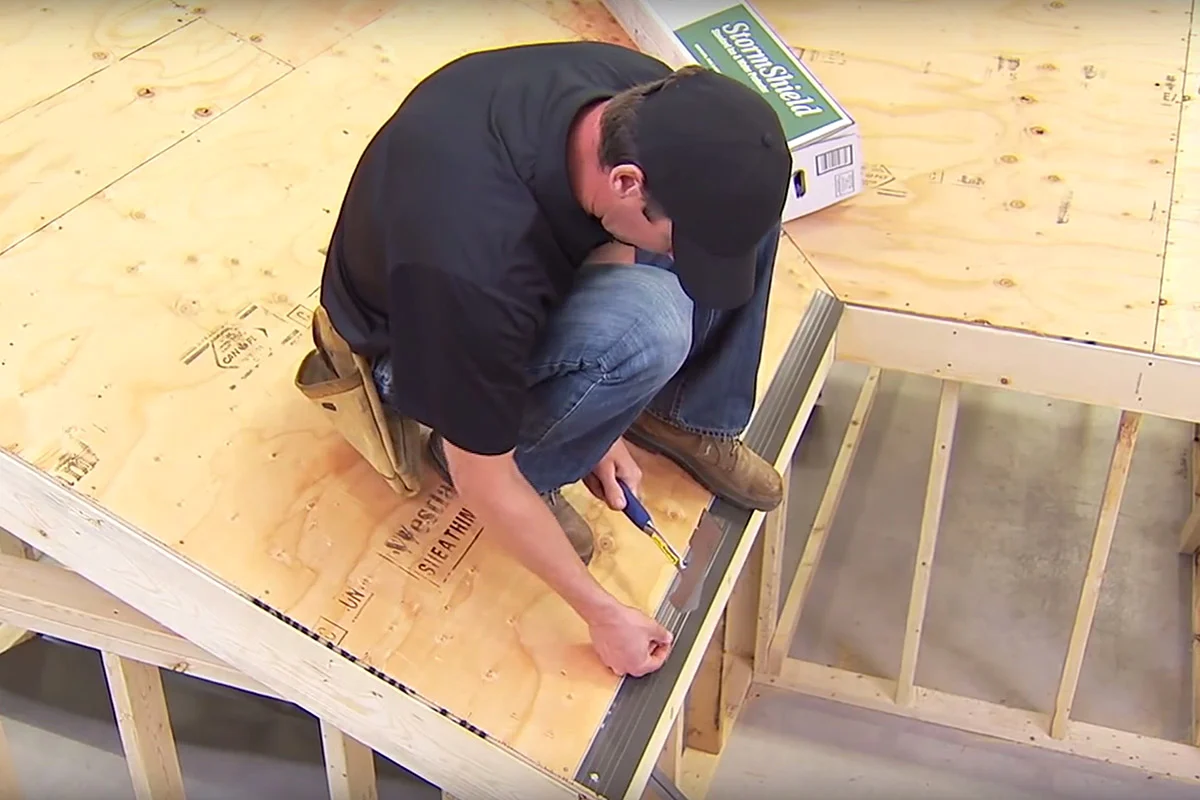
Drip edge provides a defined roof edge and helps direct water toward the gutter. Wall and valley flashing must be integrated with the underlayment and roof covering.
Eaves · rakes · flashing transitions
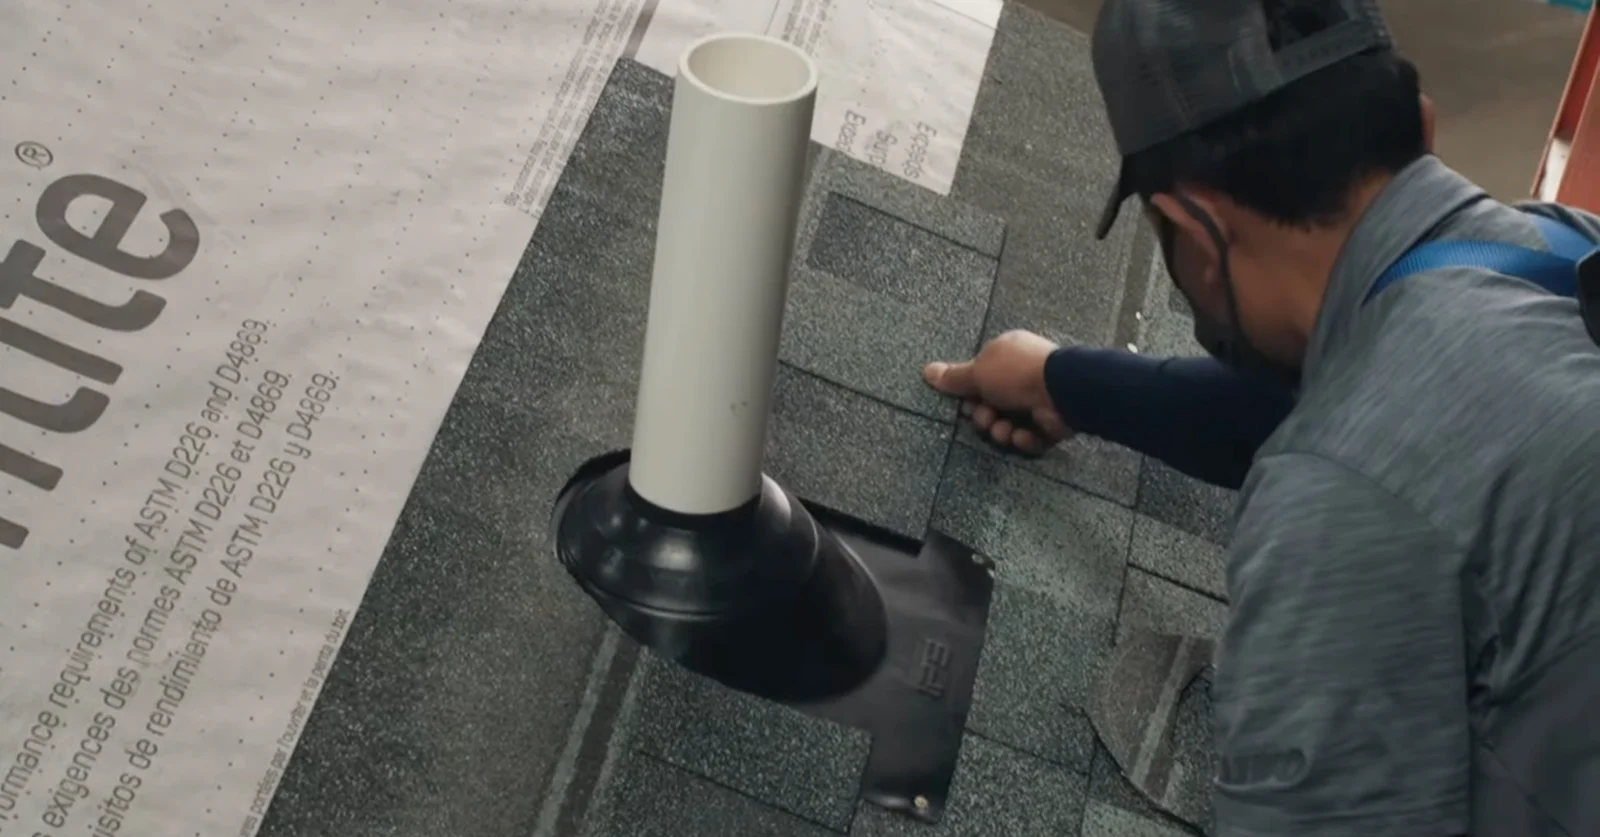
A pipe jack or boot seals around a roof penetration and integrates with the surrounding shingles. We review existing penetrations, select compatible flashing, and include agreed replacement details in the scope.
Pipe boots · vent penetrations · compatible flashing
Intake and exhaust ventilation need to work together. We review the attic and roof configuration before selecting ridge vents, other exhaust options, and the matching cap details.
Intake · exhaust · ridge-cap shingles
Choose a system, play the installation, or move through the steps at your own pace. Switch camera views to see the roof and exterior details.
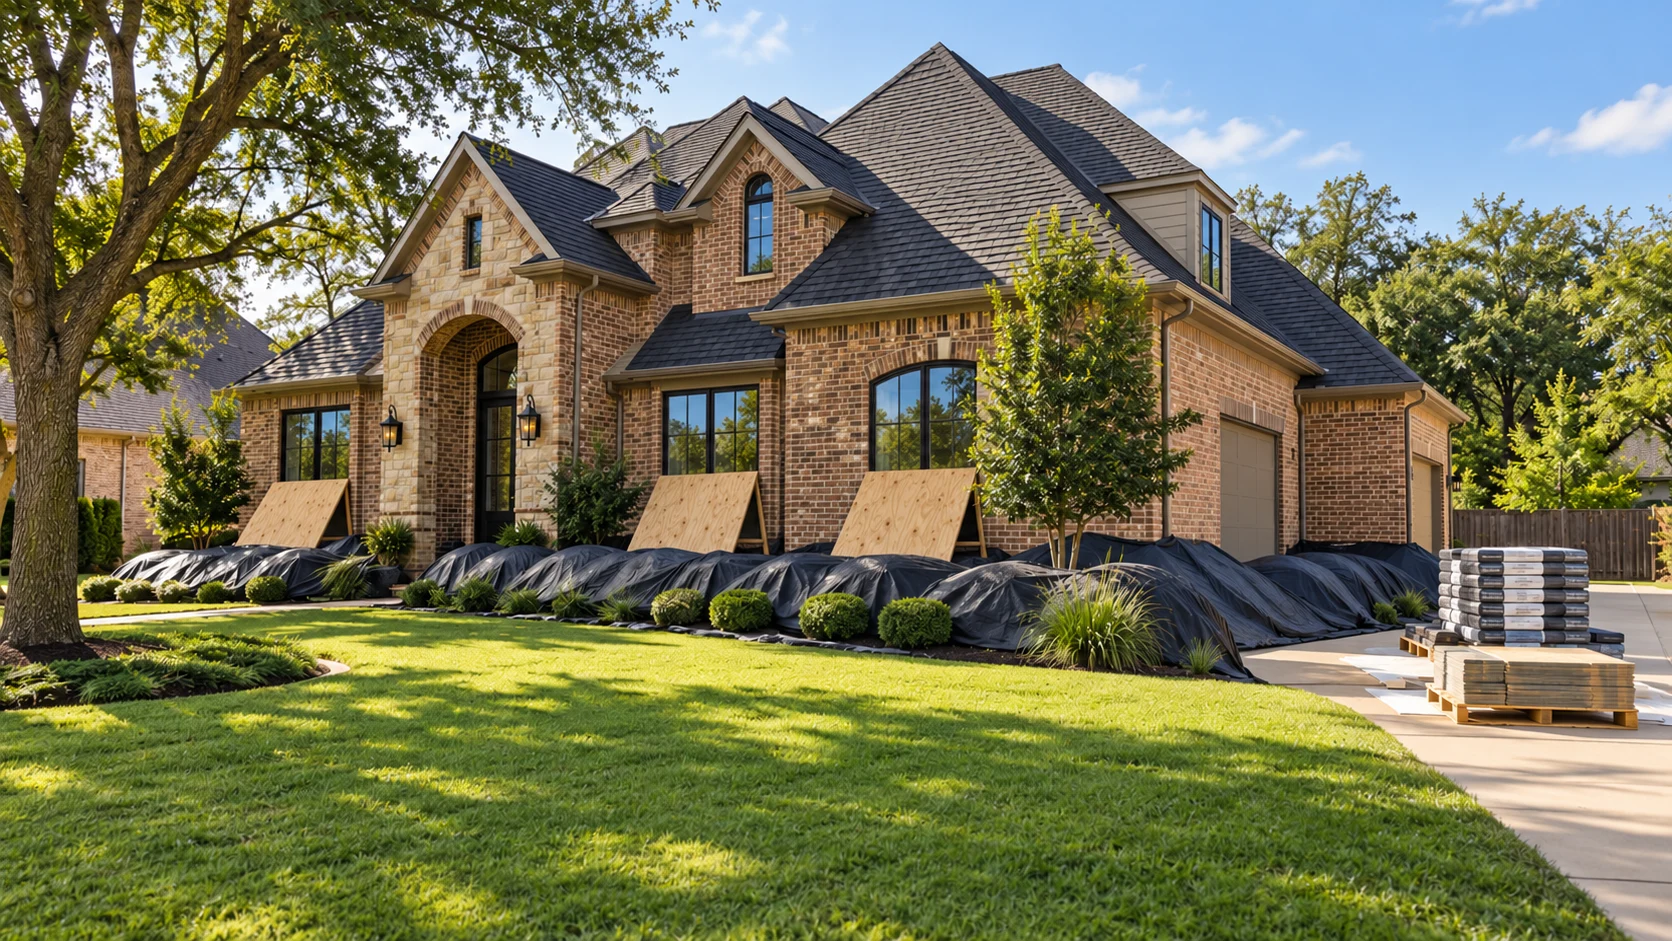
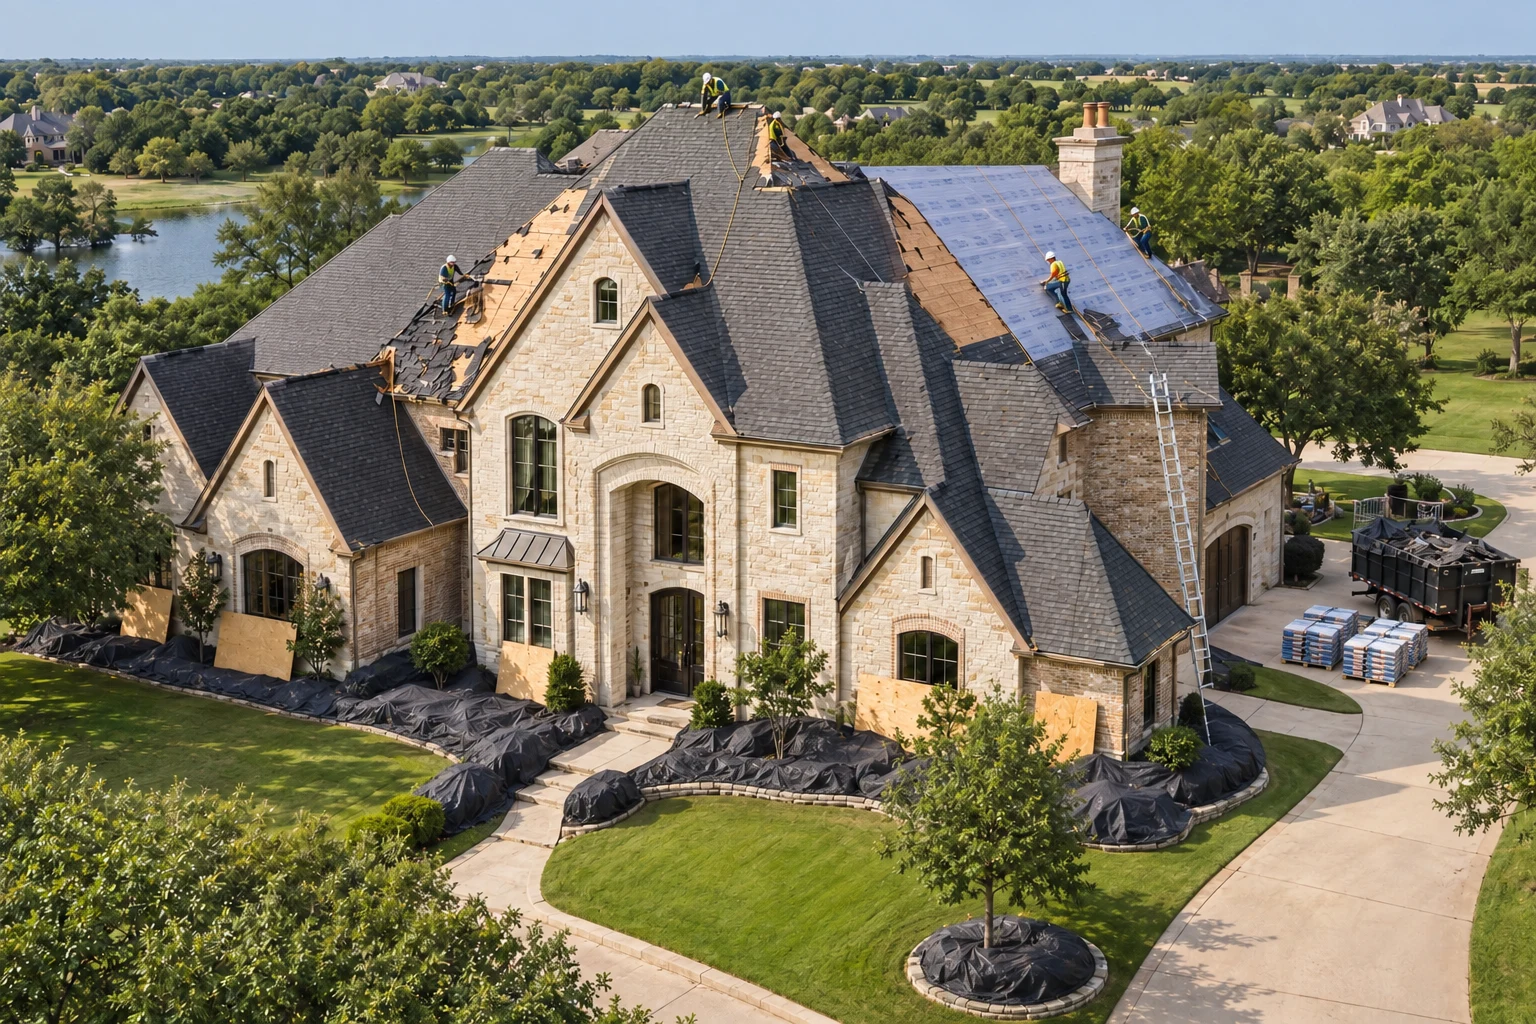
We protect landscaping and place temporary plywood shields in front of vulnerable windows before tear-off.
Landscaping protection · temporary window shields
Illustrative homeowner walkthrough, not an installation manual. Roof layers, pipe flashing, ventilation, drainage, and exterior components are simplified. Actual assemblies and installation follow the selected manufacturer, site conditions, and applicable requirements. Concealed mechanisms and underground details are not fully modeled.
Explore products and installation techniques, straight from the manufacturers. These educational films show their systems in action.
Official manufacturer demonstrations. Footage is not presented as a RYSE installation. Videos load only when you choose to play.
Know what comes next, before the work begins.
We review your roof, photograph visible concerns, and explain what we find.
Review the scope, material options, estimate, and next steps for your property.
Coordinate the agreed work, with attention to roof details and your surroundings.
Walk through the finished work and discuss care, documentation, and project-specific warranties.
Choose a manufacturer to explore shingle and metal options, the layers beneath them, and the details to discuss in your estimate.

Shingles & roof-system components
Explore the system +
Shingles & roof-system components
Explore the system +
Shingles & roof-system components
Explore the system +
Shingles & roof-system components
Explore the system +
Stone-coated metal roofing
Explore the system +
Stone-coated metal roofing
Explore the system +Product options depend on availability and your selected scope. Logos identify manufacturers and do not imply contractor certification or endorsement.
Two strong options for an impact-resistant roof. Compare tested performance, architectural style, and the complete roof system to choose what fits your home.
Class 3 is a strong choice for homeowners who want tested impact resistance and architectural curb appeal. It brings proven laboratory-tested performance to a thoughtfully installed roofing system.
Example to explore: IKO Dynasty® ↗
Class 4 earns the highest impact classification in UL 2218. Explore this option when the highest tested impact class is a priority for your roof.
Example to explore: IKO Nordic™ ↗
Compare my roof options ↗| What’s compared | Class 3 | Class 4 |
|---|---|---|
| Steel-ball diameter | 1¾ inches | 2 inches |
| Drop height | 17 feet | 20 feet |
| What the rating tells you | Passes the Class 3 test criteria | Passes the higher Class 4 test criteria |
| Hail-proof guarantee? | No | No |
| Insurance discount? | Depends on the insurer and exact product | Depends on the insurer and exact product |
A steel-ball test is not a promise that a roof will withstand real hail of the same size. Neither class eliminates storm damage. Appearance alone does not identify the impact rating, and installation still matters.
Yes. We document observed damage, prepare construction estimates, coordinate inspections, and provide supporting repair information. You file your claim and make coverage decisions with your insurer.
It is additional construction documentation or a revised estimate submitted for review when supported repair items need to be added or clarified. It can include photos, measurements, material requirements, and itemized work. It does not guarantee additional payment.
Yes. We can inspect affected gutters, fencing, windows, and garage doors as part of the exterior review. Whether any item is covered depends on your policy and your insurer’s evaluation. Maintenance and elective upgrades are identified separately.
We can provide factual inspection findings and explain our construction estimate. Request your insurer’s written explanation and ask about its review process. Coverage disputes should be discussed with your insurer or an appropriately licensed professional.
Bring any inspection photos, the insurer’s estimate, relevant insurer correspondence, and your questions about the property. We can then review the construction scope and discuss the next steps.
Tell us what’s happening at your property. Let’s arrange a complimentary inspection and talk through your options.
(972) 795-7083office@ryseexteriors.com